Teddy Bear Cookies
Hey everyone, it's me again, Dan, welcome to my recipe site. Today, I'm gonna show you how to make a distinctive dish, Teddy Bear Cookies. One of my favorites. This time, I'm gonna make it a little bit unique. This will be really delicious.
Teddy Bear Cookies is one of the most favored of current trending foods in the world. It's enjoyed by millions every day. It is simple, it's quick, it tastes delicious. They are fine and they look fantastic. Teddy Bear Cookies is something that I've loved my entire life.
Many things affect the quality of taste from Teddy Bear Cookies, starting from the type of ingredients, then the selection of fresh ingredients, the ability to cut dishes to how to make and serve them. Don't worry if you want to prepare Teddy Bear Cookies delicious at home, because if you already know the trick then this dish can be used as an extraordinary special treat.
As for the number of servings that can be served to make Teddy Bear Cookies is 1 serving. So make sure this portion is enough to serve for yourself and your beloved family.
To begin with this recipe, we must first prepare a few ingredients. You can have Teddy Bear Cookies using 7 ingredients and 17 steps. Here is how you can achieve that.
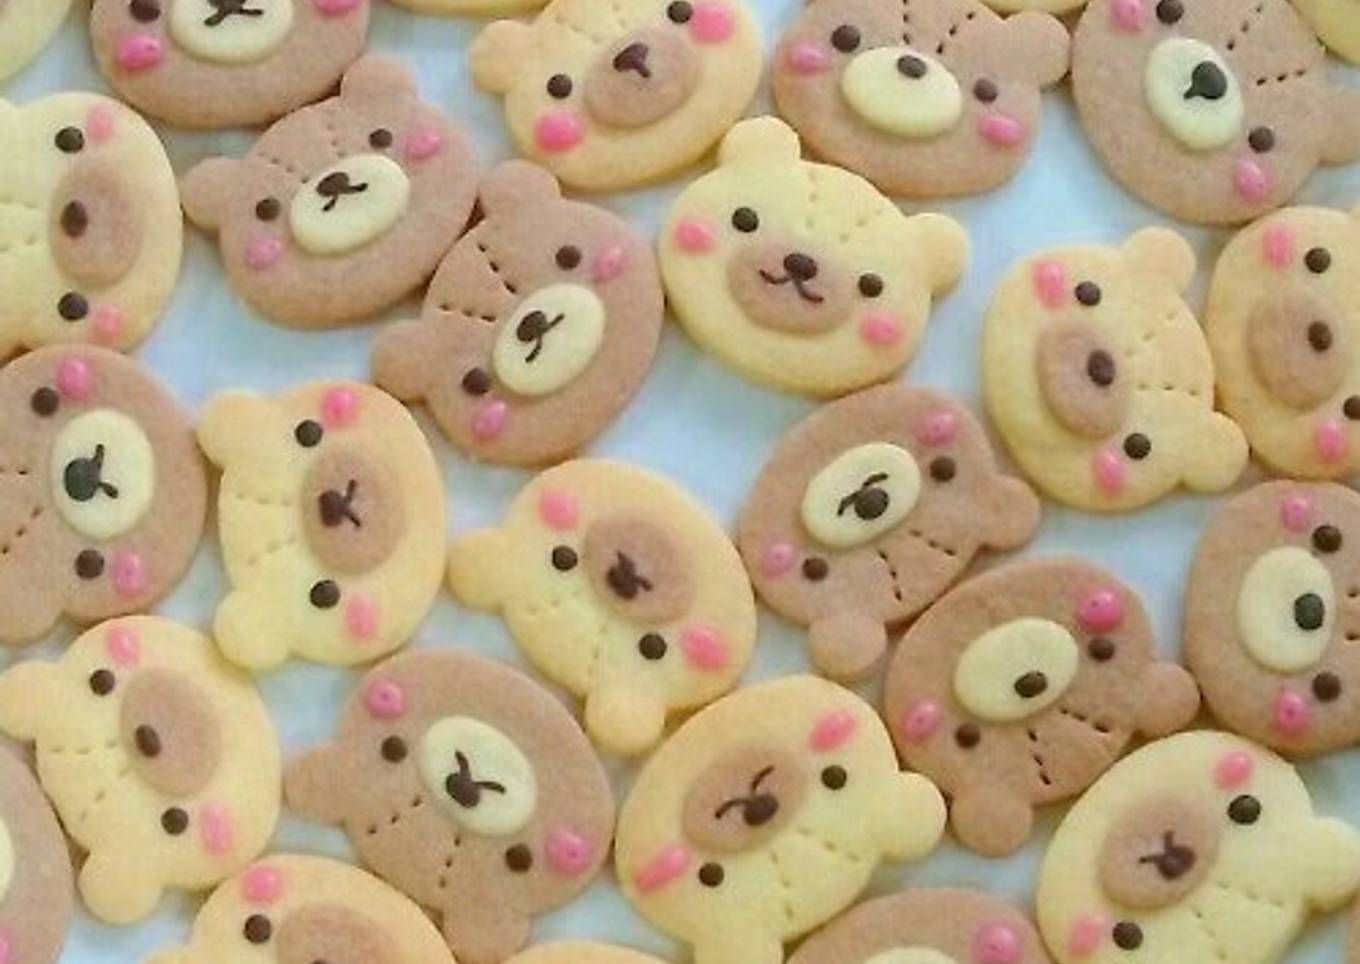
These are for my two sons.
You need some patience to make a lot of faces, but it is a lot of fun as well!
If you don't own a cookie cutter, you can make a bear shaped pattern out of the milk cartons. Place the pattern onto the dough and cut the shape out using a sharp knife. For 1 cookie sheet full of teddy bears. Recipe by Rapuu
Ingredients and spices that need to be Make ready to make Teddy Bear Cookies:
- 150 grams ✭Cake flour
- 70 grams ✭Butter or margarine
- 50 grams ✭Sugar
- 1 dash ✭Milk
- 1 tsp ○Bread (strong) flour
- 1 tsp ○Cocoa powder
- 1 Pink icing or chocolate decorating pen
Instructions to make to make Teddy Bear Cookies
- Make the dough. Combine all the ✭ ingredients and mix well. Gradually add and mix milk into the dough, small amount at a time, while checking the softness of the dough.

- Divide the dough into half. Add and mix the cocoa powder to the half of the dough. Make the dough into balls. Wrap the dough with plastic wrap and let it rest in the refrigerator. You can of course use your favorite cookie dough instead!
- Sandwich the one of the dough in two sheets of plastic wrap and roll it out to 5 mm thick. Cut into bear shapes using a cookie cutter. Leave the other half of the dough in the refrigerator.

- Align the shaped dough onto a cookie sheet. If the dough gets too soft to handle, place it back in the refrigerator to harden. Continue making the bear shapes once the dough gets hard enough to handle.

- Roll out the left over dough into a thinner layer. Making a nose either by using a cookie cutter or by making a small ball and smash it down. Place it onto the bear’s face.

- Place plastic wrap onto the nose, press it down with your finger (gently!!) so that it will stick to the dough.

- Make the faces. Before baking, combine the equal amount of the bread flour and the cocoa power and gradually add and mix some boiling water, a few drops at a time. Use a toothpick to draw a face.

- Use the flatter end of the toothpick to draw eyes and a nose.

- Use the pointing end of the toothpick to draw fine lines. Draw different kinds of expressions on the faces.

- Add stitches with a toothpick.

- It looks cute if you give his cheek the little dotted lines!

- Bake in the oven preheated to 170°C for about 15 minutes. Adjust the cooking time according to your oven.

- Make the cheeks. Use some pink icing, pink chocolate decoration pen, or a small amount of white chocolate+red food coloring to add cheeks.

- For the icing, add some water, a few drops at a time, into the powdered sugar and add a very small amount of food coloring (red). Use a toothpick to put the icing onto the face.

- Finished!

- Since you will make the faces before you bake them, they are easier to handle, easier to eat and are well suited for gift wrapping. You can draw the faces with chocolate after you bake them if you would like.

- It looks really cute if you attach these cookies onto the side of a cake.

As your experience and confidence grows, you will discover that you have much more all-natural control over your diet plan and adapt your diet regimen to your personal tastes with time. Whether you intend to offer a recipe that utilizes less or even more ingredients or is a little more or less hot, you can make basic modifications to achieve this goal. Simply put, start making your dishes on schedule. As for fundamental cooking skills for beginners you do not need to learn them yet just if you grasp some basic cooking techniques.
This isn't a total guide to fast and also easy lunch dishes but its great something to chew on. Ideally this will certainly obtain your innovative juices streaming so you can prepare scrumptious dishes for your family without doing a lot of square meals on your journey.
So that's going to wrap it up for this exceptional food Recipe of Homemade Teddy Bear Cookies. Thanks so much for your time. I am confident you will make this at home. There is gonna be interesting food at home recipes coming up. Don't forget to bookmark this page on your browser, and share it to your family, friends and colleague. Thank you for reading. Go on get cooking!
Comments
Post a Comment